
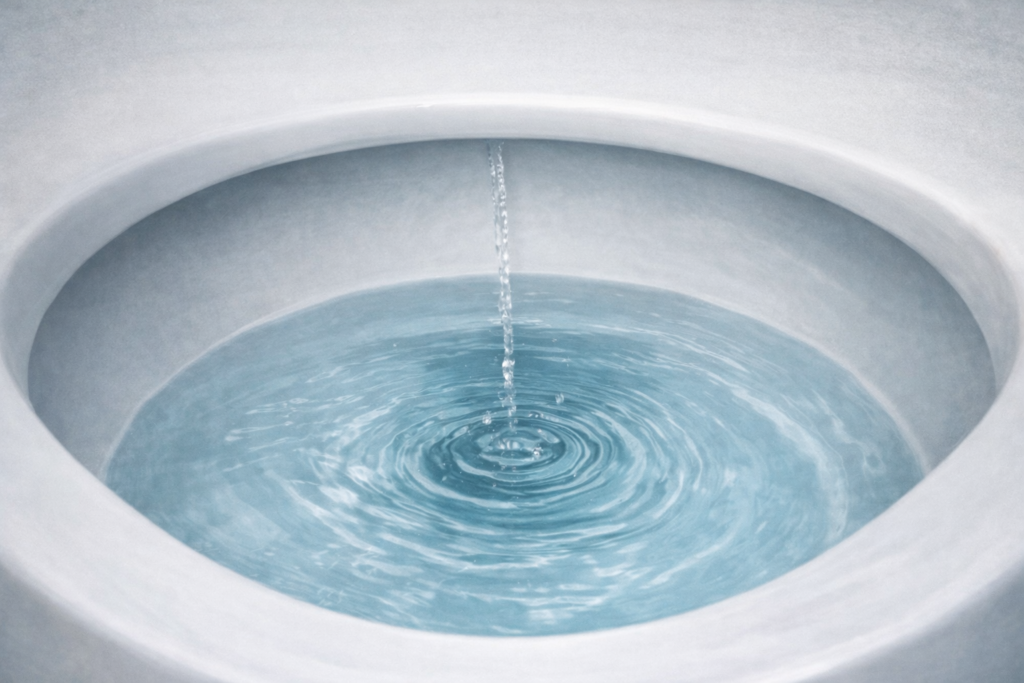
Water is constantly trickling into the bowl, even when the toilet hasn’t been used.
Is this your problem?
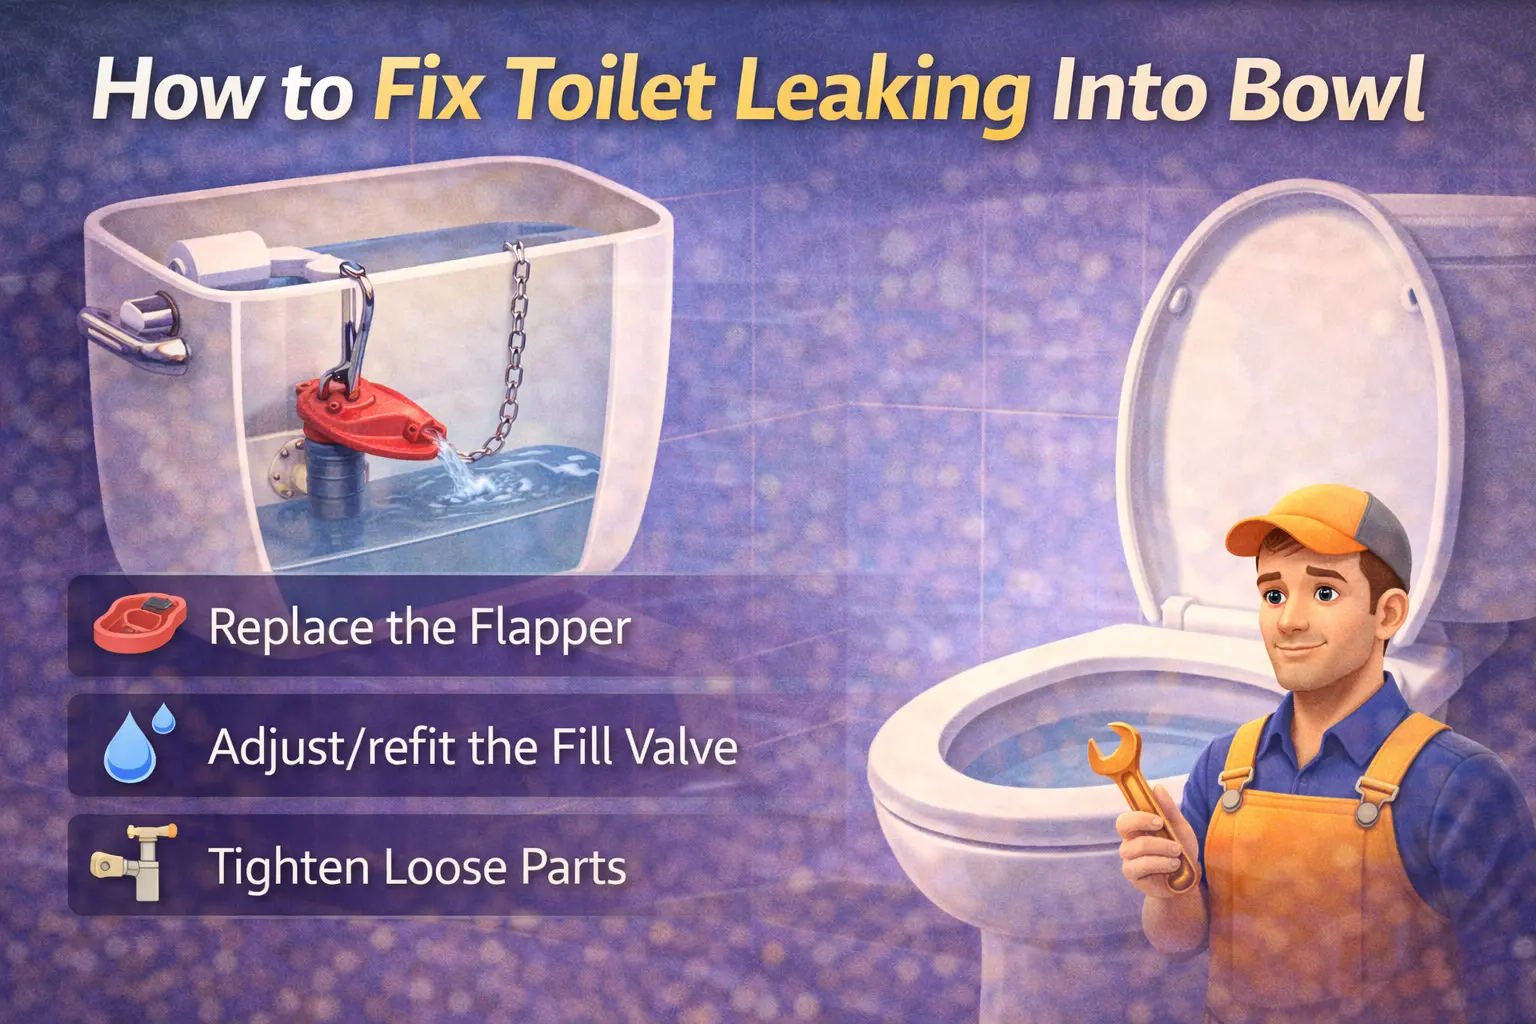
What to do
- Lift the cistern lid carefully.
- Look at the water level — if it’s too high and spilling into the overflow pipe, that’s the issue.
- Find the float (a ball or cup on an arm).
- Adjust it down slightly:
- On older toilets: bend the metal arm gently downward.
- On newer ones: use the adjustment screw or clip.
- Flush and check if the water stops rising too high.
Safe DIY: Yes.
Stop if: parts feel brittle or you see cracks — fittings can snap easily.
Water leaks into the bowl from the bottom, even though the water level looks normal.
Is this your problem?
What to do
- Turn off the water supply (usually a small valve on the pipe behind or below the cistern).
- Flush to empty the cistern.
- At the bottom inside, you’ll see the flush valve with a rubber seal (called a flapper or washer).
- Check if the rubber is worn, warped, or covered in limescale.
- Clean it with warm water and a cloth first.
- If damaged, replace the seal — these are inexpensive and widely available in the UK (e.g. Fluidmaster or Dudley parts).
Safe DIY: Yes, if you’re comfortable removing and refitting parts.
Stop if: the valve doesn’t come apart easily — forcing it can break the unit.
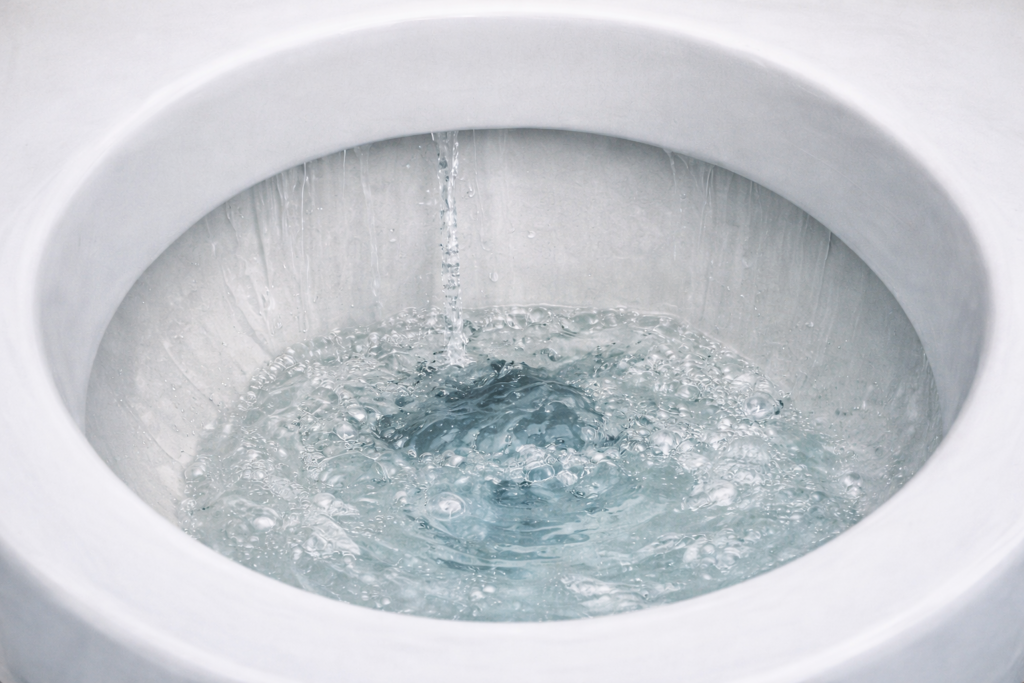
The toilet only leaks after flushing and then keeps running.
Is this your problem?
What to do
- Check the chain or push-button mechanism.
- Make sure the chain isn’t too tight or tangled — it should have a little slack.
- Ensure the flush valve fully drops back into place after flushing.
- If it sticks, clean around the valve housing — limescale is common in UK hard water areas.
Safe DIY: Yes.
Stop if: internal parts feel stiff or jammed — may need replacement.
You hear occasional refilling (every few minutes), but no obvious constant flow.
Is this your problem?
What to do
- Add a few drops of food colouring into the cistern water.
- Wait 10–15 minutes without flushing.
- If colour appears in the bowl, there’s a slow leak through the valve seal.
- Replace the washer or flush valve seal.
Safe DIY: Yes.
Stop if: you’re unsure which replacement part fits — take a photo and match it at a local plumbing merchant (Screwfix/Toolstation).
The cistern is old and parts look worn, scaled, or mismatched.
The cistern is old and parts look worn, scaled, or mismatched.
Is this your problem?
What to do
- Consider replacing the full flush valve or fill valve kit.
- Modern kits are cheap, quieter, and more water-efficient.
- Turn off water, drain cistern, and swap components following instructions.
Safe DIY: Only if you’re confident with basic plumbing.
Call a plumber if:
- You can’t isolate the water supply
- There are leaks outside the toilet
- Bolts or seals underneath the cistern are involved